Using the |
 |
|
Webcam (photo) Tool |
Snap a photo of the signer or any object or both and place them into the electronically signed and saved document
Imagine a rental business having customers electronically sign the rental agreement, and have a timestamped photo of the rented object, proving it's condition, placed directly in the signed document. This is easy and automatic with CursiVision.
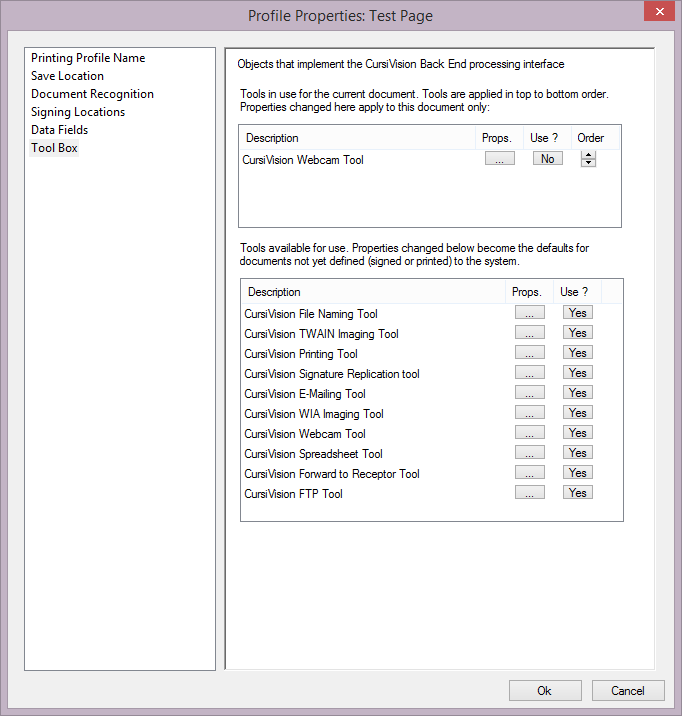
To place this tool into service, choose the Tool Box settings category, and select Yes on the Use button in the lower list of tools. Figure 1 shows the tool ready to go for the current document or print profile.
|
| Figure 1. The Webcam tool is ready for use |
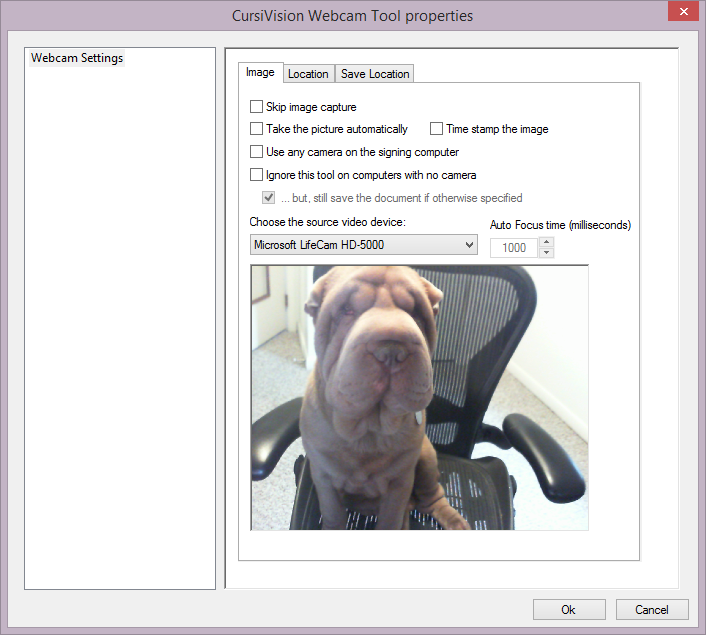
To configure the tool, select the Props button in the upper list. You will see the properties window as shown in Figure 2.
|
| Figure 2. Setting properties for the Webcam Tool for a Veterinarian's office |
Note that the desired camera should be available on the computer being used for this configuration. There is an option, however, to utilize whatever Webcam happens to be on the computer at document signing time.
Our particular example is one where something of value may be photographed and embedded within the signed document, perhaps a patient for a veterinarian.
The properties are briefly explained:
- Skip image capture
This turns off the tool temporarily (until you turn it back on). Rather than "un-use" the tool from the toolbox and loose the settings, you can suspend use for some reason and start using it later. - Take the picture automatically
This "auto-snaps" the photo, which means to wait a configurable amount of time (note the Auto-focus time) and automate the taking of the photo. The computer user does not have to press any button. If this is not configured, a window very similar to Figure 2 pops up at document signing time, and the user would have to click "Snap" when the Webcam is focused. - Time stamp the image
Places the current date/time on the image before embedding it into the final document. - Use any camera on the signing computer
Described previously, convenient for when different computers might want to use this print profile or document settings, each having different brands or names for installed Webcams. - Ignore this tool on computers with no camera
Again, for a shared print profile, this option prevents the machine from activating a warning message to the user if no camera is present. - ..but, still save the document if otherwise specified
In the Save Location tab of the settings (Figure 2), you specify the location to store the saved document. This option ensures that the document will still get saved per those specifications (if any) even when there is no camera attached. There will be no image in the resulting document, however. - Choose the source video device
The list will contain all connected Webcam devices. Typically, with a TabletPC you will see both a front and a back camera and you would choose between these based on what you were capturing an image of. - Auto Focus time
If you are taking the picture automatically, you should allow the camera to properly adjust for the lighting conditions before the picture is taken. This setting causes the computer to wait the specified number of milliseconds ( 1000 of which are in 1 second ) before the auto-snap. You may need to experiment with this setting based on your hardware and typical environment.
Figure 2 contains two other settings categories (Tabs).
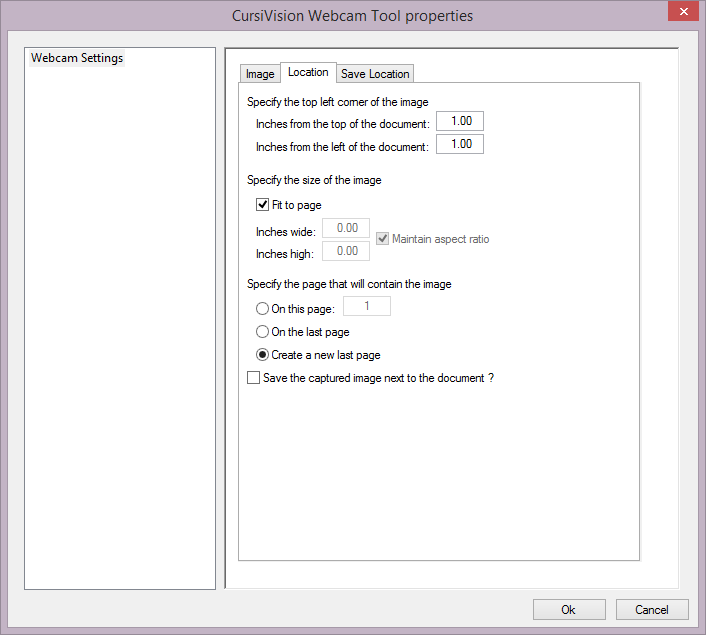
The first of these, Location - allows image size settings, as well as the location for embedding the image in the document.
|
| Figure 3. The Webcam tool Location properties |
The settings in Figure 3 specify how large to make the resulting image, where on the page to embed it into the document, and finally, on which page to place it.
If you configure a document with a place to put the image, you can specify the exact location of this place with the upper portion of Figure 3's options. In this scenario, you would probably specify the size of the image (in inches) as well.
You can also indicate if the image shold occupy the entire page (the width or height is automatically chosen to minimize margins while retaining the image's original aspect ratio).
You should choose the page the image should be embedded into. If desired - you can have the system create a new page to contain the image.
Finally, there is a "Keep the captured image next to the document" option. This is a convenience feature that creates an image file of the photo wherever the signed document is stored, in case you have some need to do something with that image in addition to it being embedded directly within the signed document.
The last series of options for this tool are the Save Location settings. These are the standard CursiVision file saving options and allow you to embellish the final document name, specify the location of the result, etc. When using any CursiVision tool with the ability to save the result - you can turn off the saving options in the "Save Location" category for the document or print profile.
Usage instruction for other tools from the CursiVision Toolbox can be seen here:
- File Naming tool
- Imaging (scanner) tools
- Printing tool
- E-Mail tool
- Spreadsheet Logging tool
- Forward to Receptor tool
- FTP tool
- Generic tool