Using the |
 |
|
Imaging (scanning) Tools |
You can scan any document into the signed document after it has been signed
A doctor's office could scan an insurance card into an electronic form filled out by patients in the lobby. A tax preparer could combine all documents in a customer's tax package into one electronic copy, saved with the customer's SS # as the file name, with document storage location, along with any customer data of interest, which is automatically taken from that document, could be logged in a spreadsheet.
There are 2 scanning tools shipped with CursiVision; one using the older TWAIN scanning device interface, and one using the more recent Windows Imaging Acquisition (WIA) interface. They are configured and operate exactly the same way, other than the list of available scanning devices presented to the individual configuring the tool. We will show figures from the WIA version of this tool.
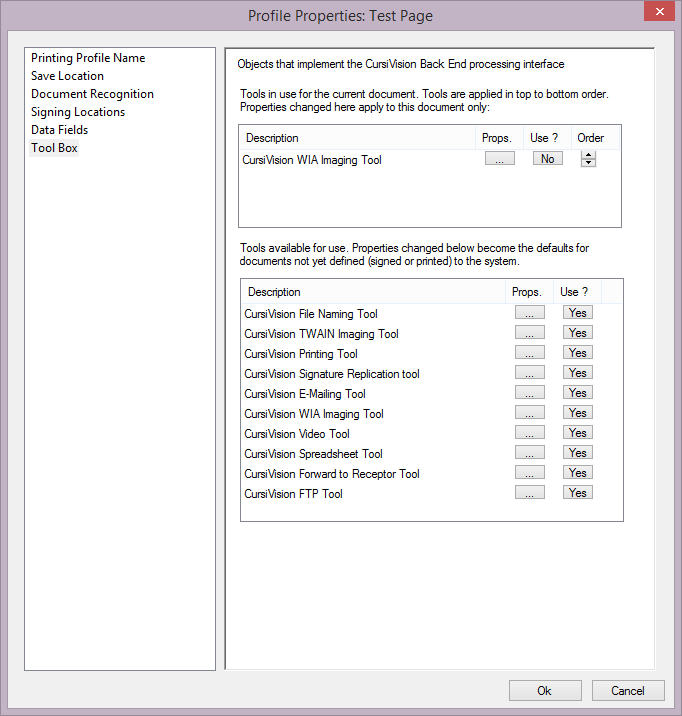
To begin, edit your document or print profile, and ensure the tool is enabled for use by clicking "Yes" for the tool in the lower list of tools. As always, if you are working with a print profile, ensure that you arrived at the tool box through the Settings button under the selected print profile in the "Print to sign" category of global properties.
|
| Figure 1. The WIA Imaging tool is selected for use |
Clicking the props button in the upper list for the tool, we see Figures 2 - 4.
The imaging tools have 3 separate property pages (tabs) for you to specify.
-
Which device do you want to connect to?
Note that this configuration should be done while an actual WIA enabled scanning device is available to the computer.
If such a device is not available, you could select "Show these properties every time". That setting (which is on other toolbox property pages) means that as the tool executes - it should bring up the properties, such as you see in Figure 2. This allows you to select devices (or other configuration options) differently for every document. You might, for example, choose to save the document in a different location which may change based on the context of the signing session.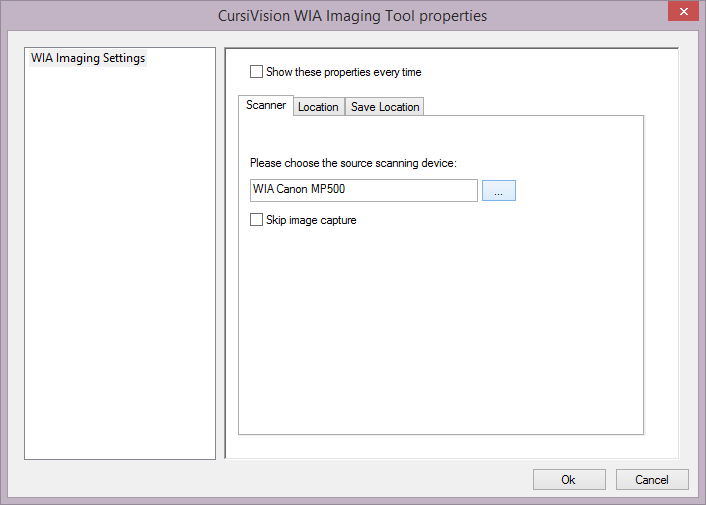
Figure 2. Select the Imaging device - Where in the document should the scanned image be placed?
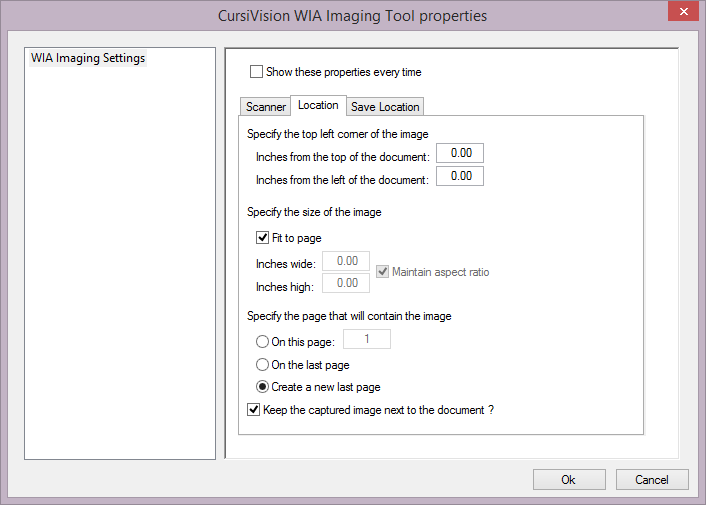
Figure 3. Specify the location in the document for the scanned image.
These options allow precise placement of the scanned image within the document. Perhaps your base document has a place reserved for the image. You can specify the specific location (by inches) of that place directly. You should also specify the page # that contains that place (if any) using the "On this page" field. Another option is to create a new last page for the scanned image. Typically this is a necessary approach for full-page, or multi-page scans. CursiVision will scale the image as appropriate to fit within the region you define with these settings.
Finally, there is a "Keep the captured image next to the document" option. This is a convenience feature that creates an image file of the scan wherever the signed document is stored (see the next item of configuration), in case you have some need to do something with that image in addition to it being embedded directly within the signed document. - The standard CursiVision save location options that specify where, and with what file name embellishments, the resulting document should be stored.
Note that this tool can save the resulting signed document. If it does you could configure the main "Save Location" category to NOT save the document. Another option (valid for any of the CursiVision tools that can save the document) would be to have the final such tool in the "Chain" (there can be any number of tools applied against the document) - handle the final save.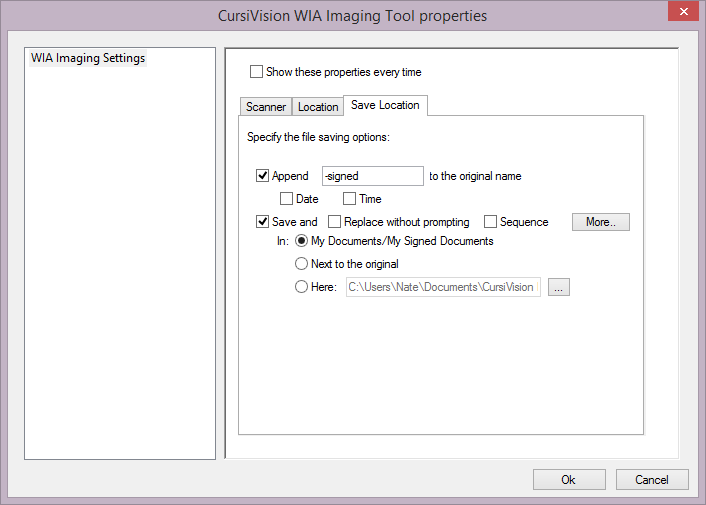
Figure 4. Where and how to save the resulting document.
- File Naming tool
- Printing tool
- E-Mail tool
- Webcam tool
- Spreadsheet Logging tool
- Forward to Receptor tool
- FTP tool
- Generic tool