Defining Data Fields with |
 |
|
You can use Data Fields to capture and use content from your documents |
CursiVision can take data directly from your documents and use it in powerful ways.
Some of the Toolbox items leverage this ability for naming the resulting signed document, or for populating cells in a logging worksheet, for example.
To define fields, open the document in CursiVision and select the Document properties icon in the Toolbar. Or, if you print your document to initiate signing, edit the Print profile.
Recall that you can find the print profile by selecting Global Properties - then "Print to sign", find the profile in your list of profiles, and click Settings beneath the profile list.
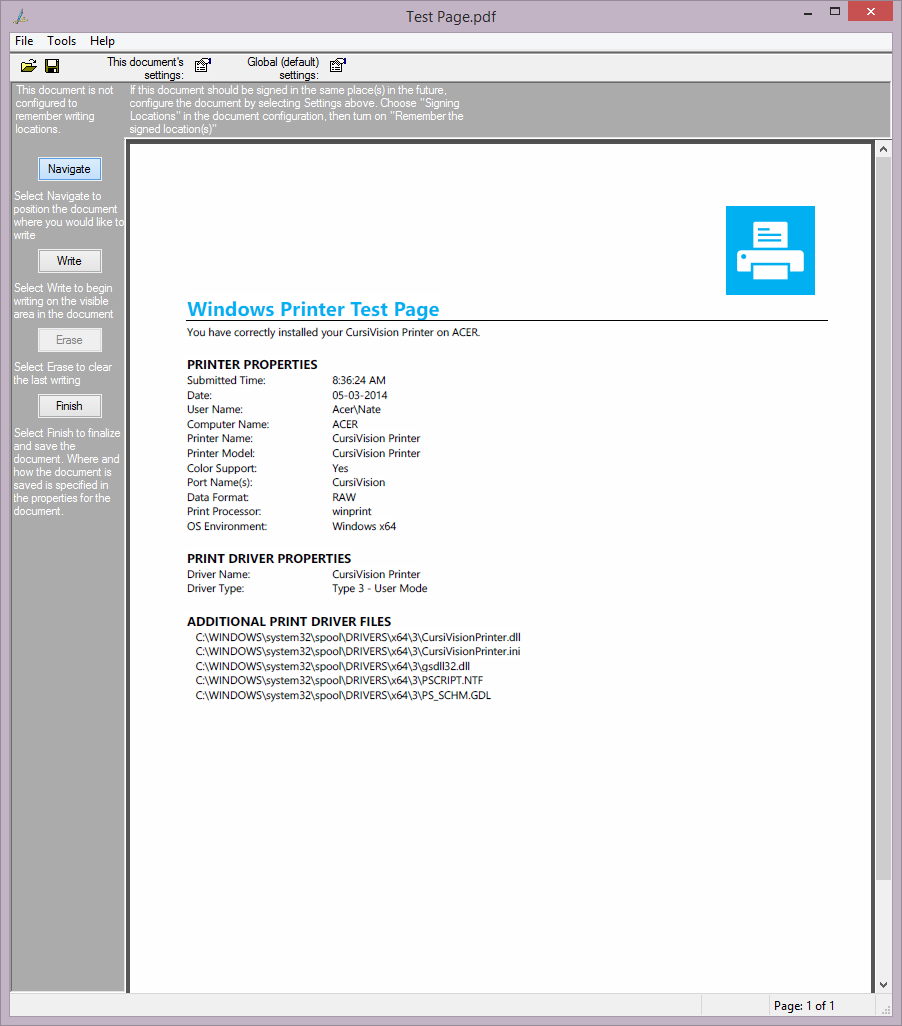
First, we show a particular document that we are working with to read data from. Figure 1 shows the Windows printer test page we sent to the CursiVision printer, as displayed in CursiVision ready to sign.
|
| Figure 1. Our base document, the Windows printer test page |
We note that about one third down the page, there is a "Computer Name" field, and to the right of that, a value for that field, in this case "ACER".
Our goal is to obtain the value from our document, which currently contains "ACER" but in other instances - will contain a different value, after signing this document we'll use that value in one of our toolbox items. One could save the document with the name "ACER-test page.pdf", for example.
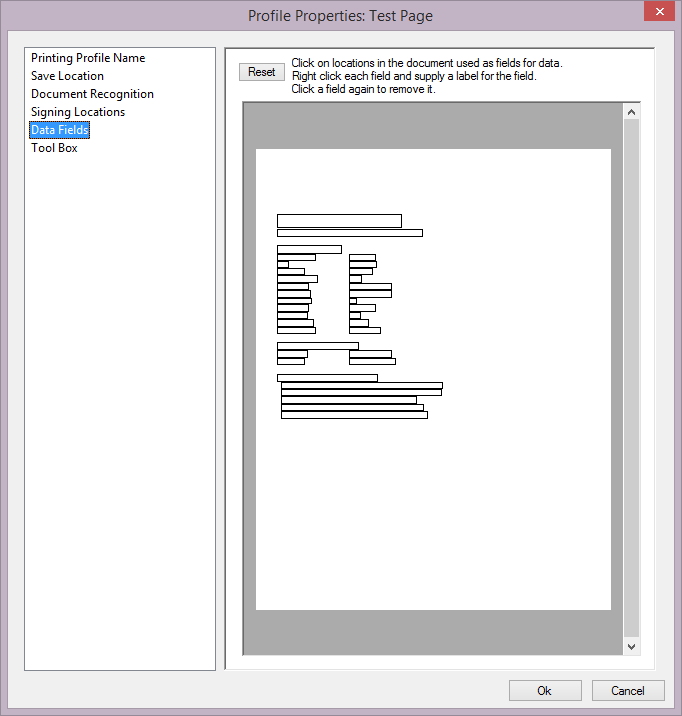
In the properties page, select the "Data Fields" category in the left. You should see Figure 2.
|
| Figure 2. The Data Fields home page |
The property page only shows the outline(s) of the text in the document, not the graphics or the actual text value(s).
All we need to do is to find the rectangle that contains our value (keep in mind this will be in exactly the same place for every "instance" of this document). Once found, we click on that rectangle, and we have created our first data field (it turns green).
We click on the 4th field down in the right column, that is the "text box" that will contain our value. Figure 3 shows our progress.
Note: Actually, you can click and drag out a box on the document over any number of existing text areas. At run time, when the document is being processed by tools that use Data Fields, the contents of the Data Field thus defined will actually be the concatenation of the contents of each of the text areas from the document enclosed by the box you drag out in the field editor.

|
| Figure 3. A data field has been created |
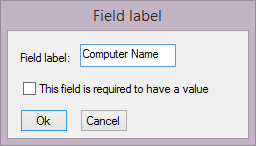
Now, right click on the field and provide a name for the data field in the small window that appears.
|
| Figure 4. Providing a name for our field |
Figure 4 shows how to name the field, we have provided the value "Computer Name". You can also select whether the field is required to have a value. CursiVision does not stop processing or ask for a value if one is not provided. This option merely notifies the user during signing time that the field does not have a value, and that perhaps the document is not a valid copy of the base document.
Now we can put these data fields to use!
Two of the CursiVision toolbox items currently use the data fields. Development of other tools is ongoing at InnoVisioNate, we always welcome thoughts or ideas about unique and creative toolbox items customers might want. If you have a certain need, please feel free to drop us a line with our contact form.
Please visit the following for information on using the data fields:
Other tools in the CursiVision toolbox are: